
The Planck Keyboard#
Over the past two years I tried out a few different keyboards for fun.
I started with common form factors like TKL boards, went over 75% boards like the Q1 and then to a 60% HHKB.
For typing feel, the HHKB is really amazing, but unfortunately the programmable features of a stock HHKB board are very limited.
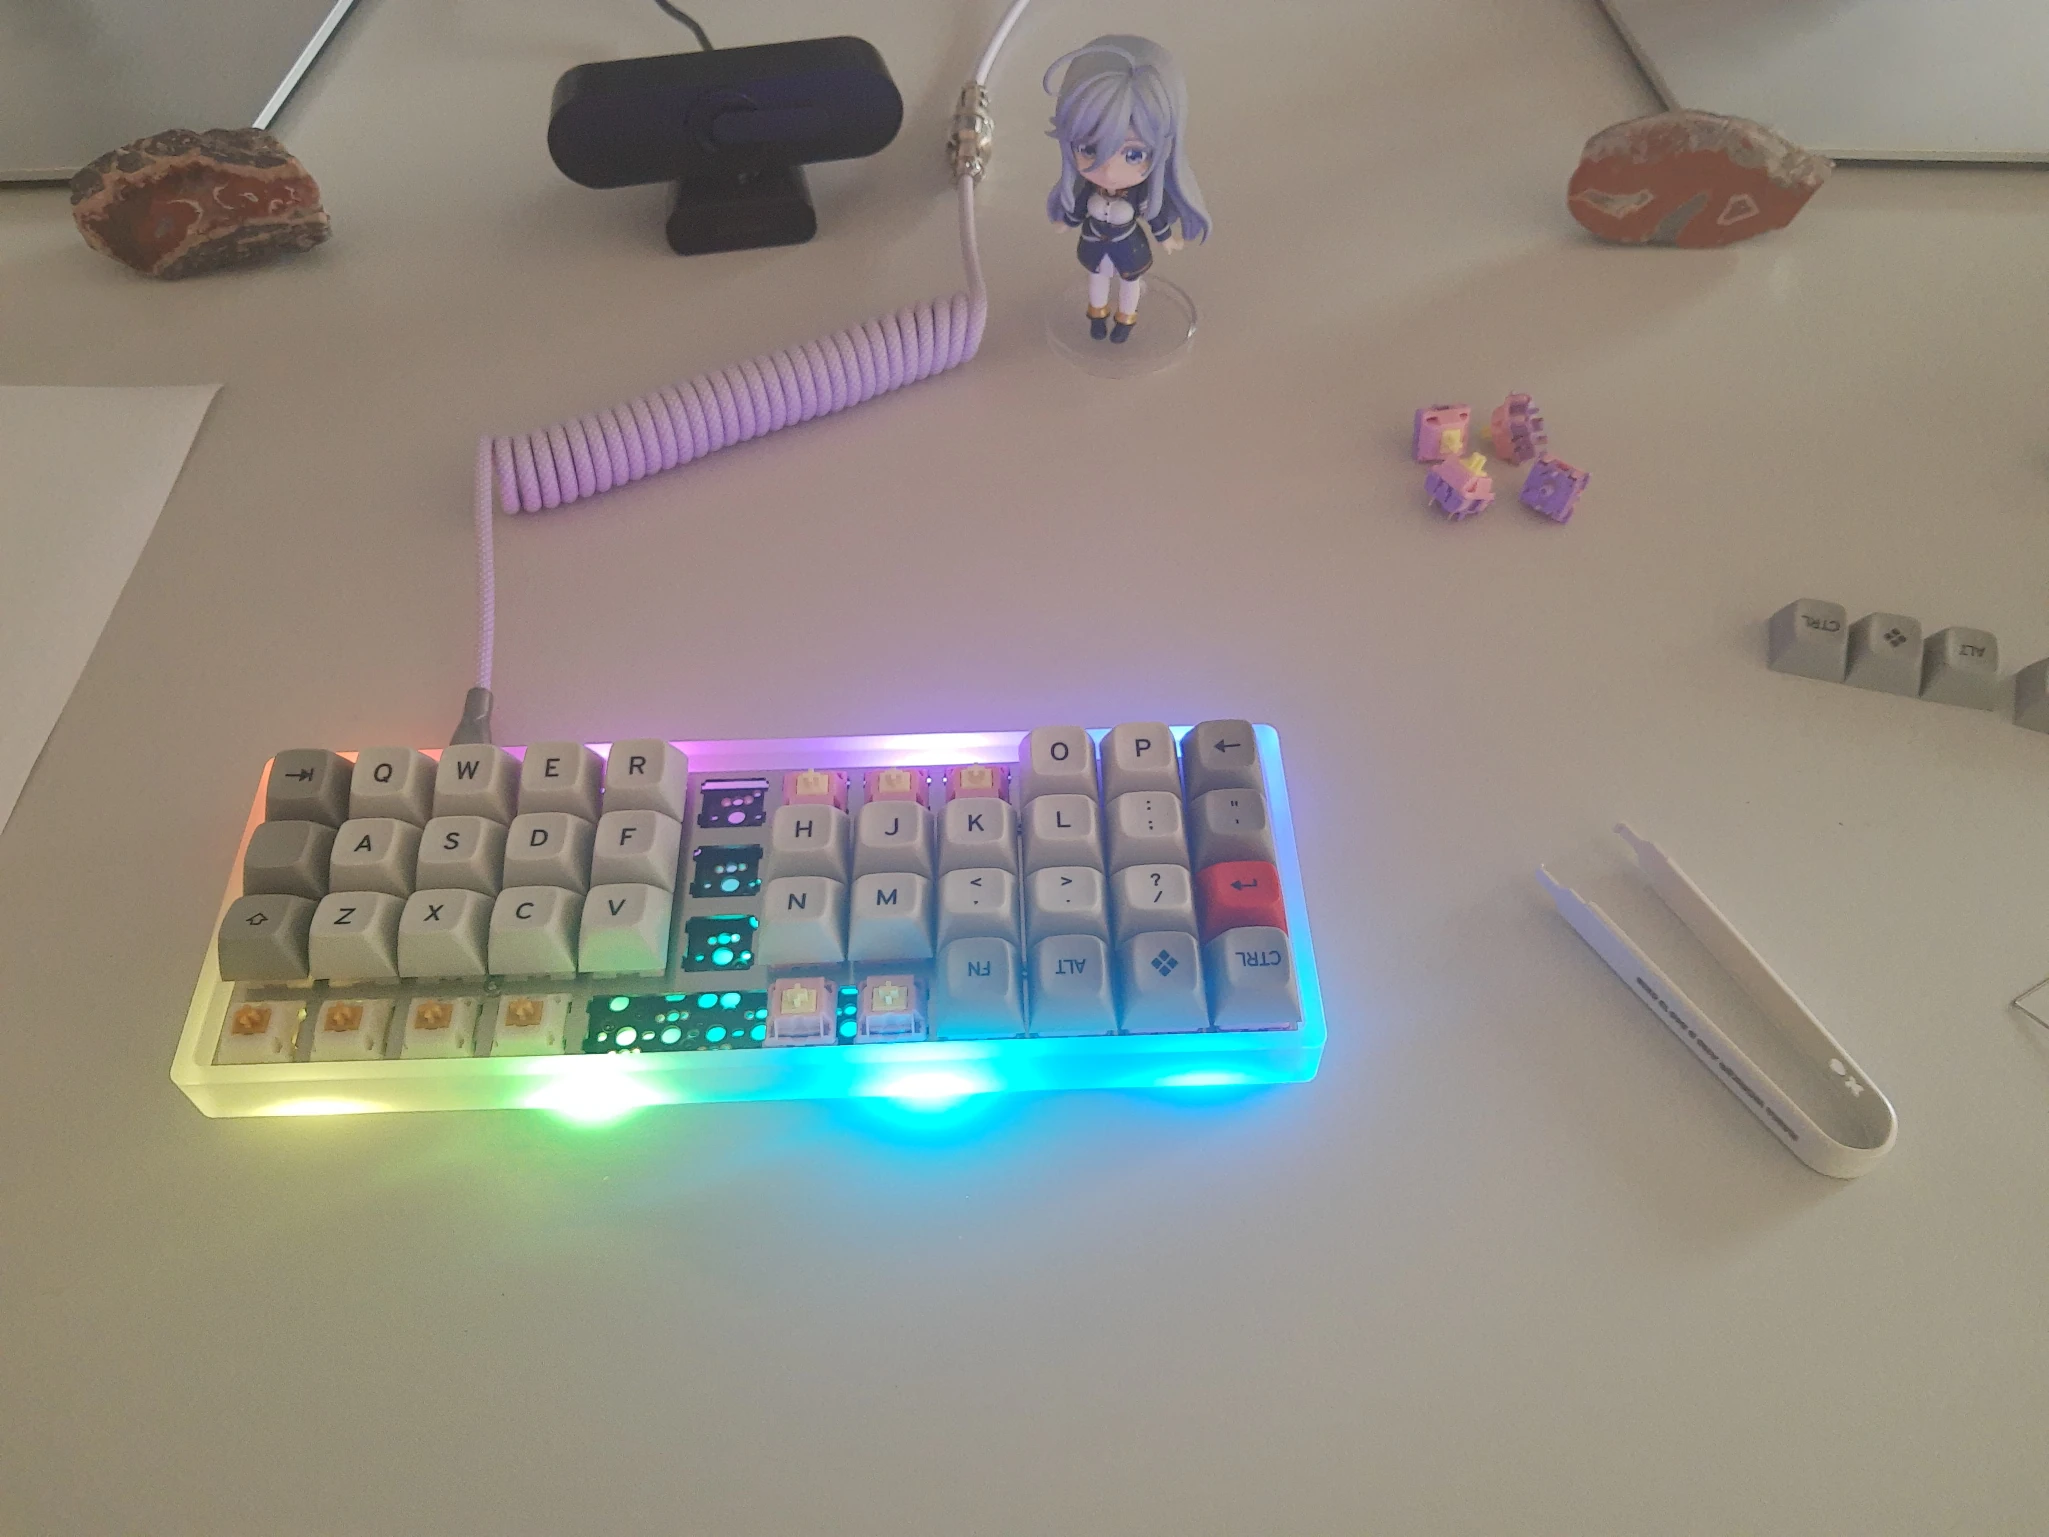
Now that I went down to 60%, I will give a more extreme keyboard a chance, the 40% Planck ortholinear keyboard.
This one is fully open-source, you can even produce your own PCBs and Co. You find more or less all stuff freely at GitHub.
Given that the Plank designer funded QMK, too, naturally you can fully customize the Planck boards.
Unlike for my tries with the Q1, this time I just went the plain QMK route, without any UI like the closed VIA or the open VIAL.
The Planck board offers a nice platform for experiments, given the plain grid layer that allows really to freely shuffle all your keys and experiment with extreme layouts.
Install QMK on NixOS#
As I use at the moment NixOS at home, here the needed steps to get going with QMK on that distribution.
Install the qmk package. This will install the needed cross compile tool chains, too.
Ensure the udev rules are setup, e.g. add to your configuration.nix
services.udev.packages = [ pkgs.qmk-udev-rules ];Run qmk setup, here with some own firmware location
qmk setup -H ~/install/qmk/firmwareConfigure QMK to use the Planck as default
qmk config user.keyboard=planck/rev6_dropUse my github name as keymap name
qmk config user.keymap=christoph-cullmannCreate own keymap based on default
qmk new-keymapCompile the firmware
qmk compilePut the keyboard in boot loader mode (e.g. trigger RESET)
Flash the firmware
qmk flashNow the keyboard should auto-restart with the new firmware.
Have fun :)#
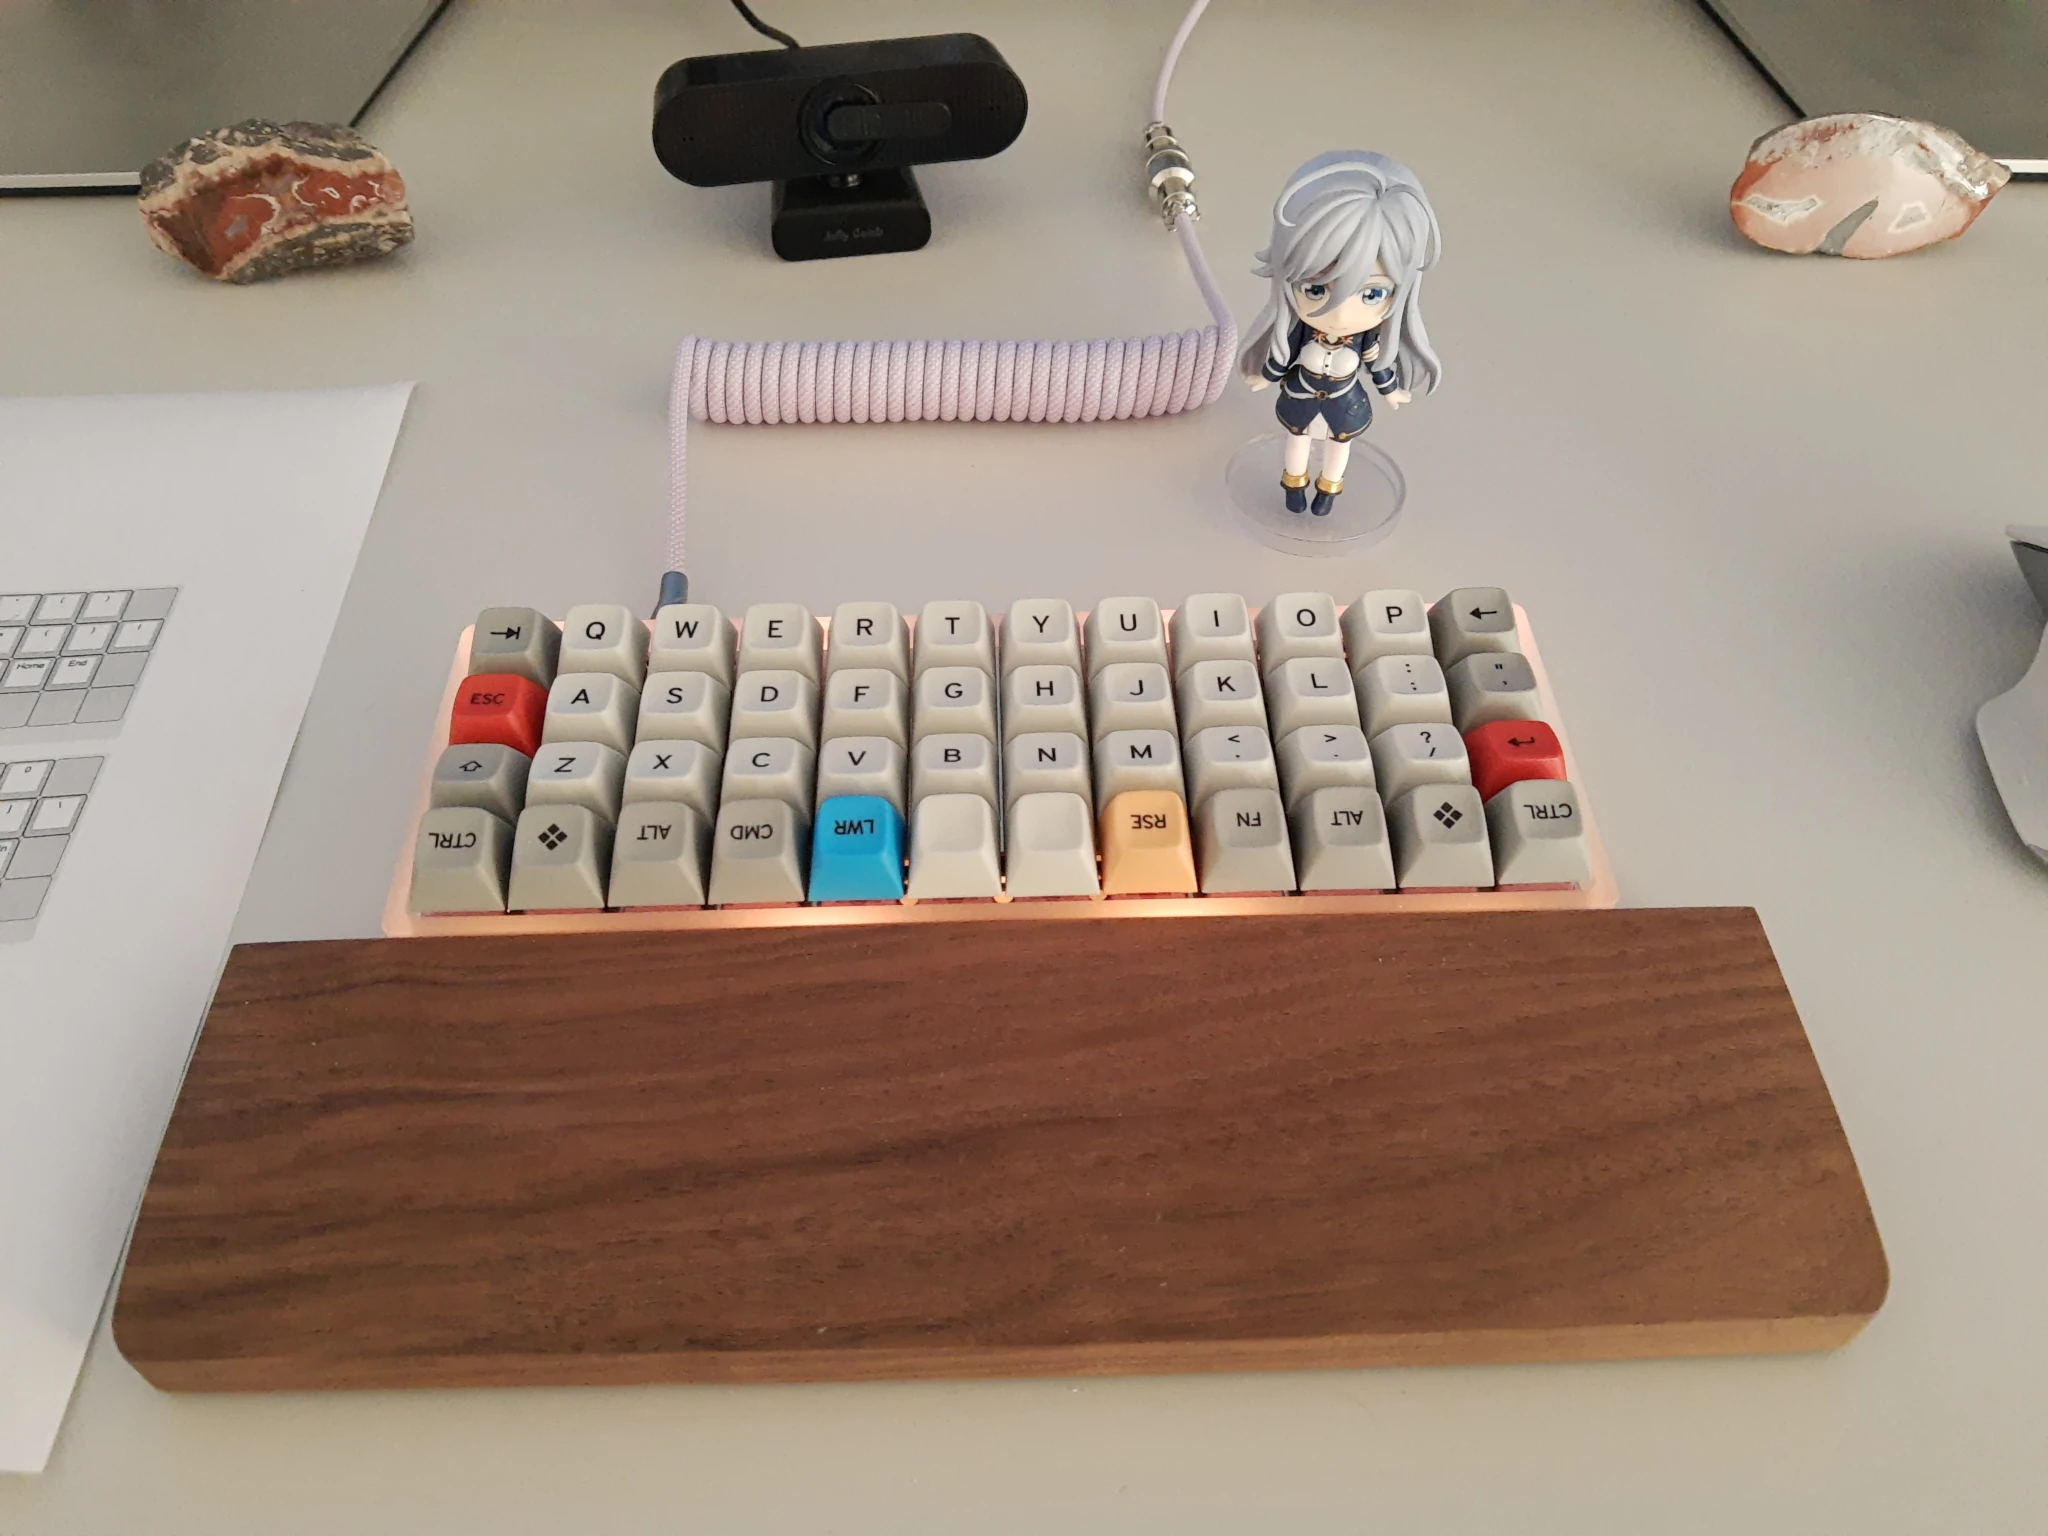
Below the state of a finalized Planck board with some more or less standard first layer layout.
It even plays a nice startup sound on powering up.
My current keymap can be found here.
As the history of this repository shows, I already experimented if some different layouts.
Warning ^^#
Yes, the paper on the left of the keyboard is a printout of the lower & raise keyboard layers.
My typing speed is still abysmal on that new layout and I guess I need to build as second one for at work, otherwise I will never get used to the layout if I swap daily between this and a HHKB.
Therefore, if you like to try such a board and are not a lot more experienced with switching between different layouts: you will need some time to get used to this.
Even just the removed row staggering is confusing the first few days.